
Creative Cutters: Fun with Alcohol Inks
This site includes affiliate links. If you purchase from these links you will not pay more for the product, but I may earn a small commission which helps defray the costs of keeping the site running. I am also a participant in the Amazon Services LLC Associates Program, an affiliate advertising program designed to provide a means for me to earn commissions by linking to Amazon.com and affiliated sites. I appreciate your support!
We always have fun at Creative Cutters, but we really got to PLAY this month and experiment with something new for all of us – alcohol inks! Working with alcohol inks leaves plenty of room for creativity. There’s no limit to what you can make using different techniques and color combinations and no two results are ever the same!

Alcohol inks come in a wide range of colors and can be applied with a variety of techniques. You can paint them, dab them, sponge them, blow on them, swirl them around with your fingers, or all of the above!
Getting Started
What you’ll need:
- A non-pourous surface (we used ceramic tiles from the hardware store)
- Alcohol inks and/or Alcohol Pearls
- Alcohol (90% or greater) or Alcohol Blending Solution
- Gloves
- Something to protect your work surface
For the tile project, I cut several designs (using Oracal 651) that could be used as either a mask or a stencil. I chose designs that included plenty of open space to show off the ink colors:
- Assorted Floral Filigree by Jamie Koay (Design ID #29136) – no longer available
- Bubbles Placemat Layout (Design ID #65811)
- Butterfly by Sarah Bailey (Design ID #149255)
- Butterfly by American Crafts (Design ID #20365)
- Deer by Echo Park (Design ID #164431)
- Doily by Jillibean Soup (Design ID #75745)
- Echo Park Solid Sun (Design ID #18078)
- Flower by Silhouette (Design ID #16700)
- Flower by We R Memory Keepers (Design ID #38419)
- Geometric Heart by Planeta Silhouette (Design ID #186865)
- Geometric Overlay 3 by Sweet Elsie (Design ID #68098)
- Leaf by Echo Park (Design ID #289086)

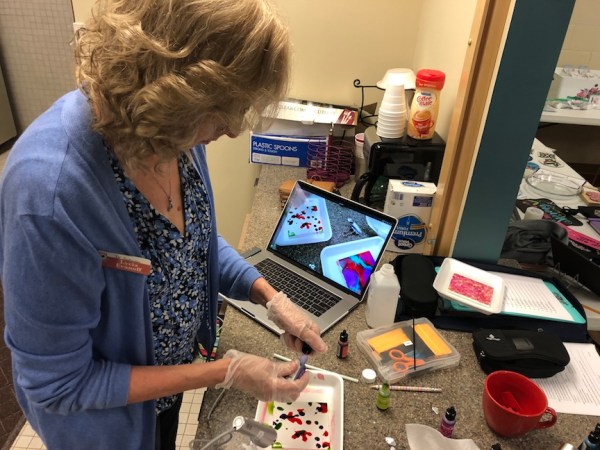
Application Techniques
Once the masks/stencils were weeded and adhered, it was playtime!

Working on only one tile at a time, each person began by applying either alcohol or blending solution to their tile, then had fun experimenting with different ink application and design techniques such as:
- Paintbrushes
- Q-Tips
- Straws/Coffee Stirrers
- Toothpicks
- Makeup Sponges
- Eye Shadow Applicator Sponges
- Applicator Tools (we made our own by attaching small squares of felt to a binder clip with a rubber band)


It was fun to just watch everyone and see what they came up with.


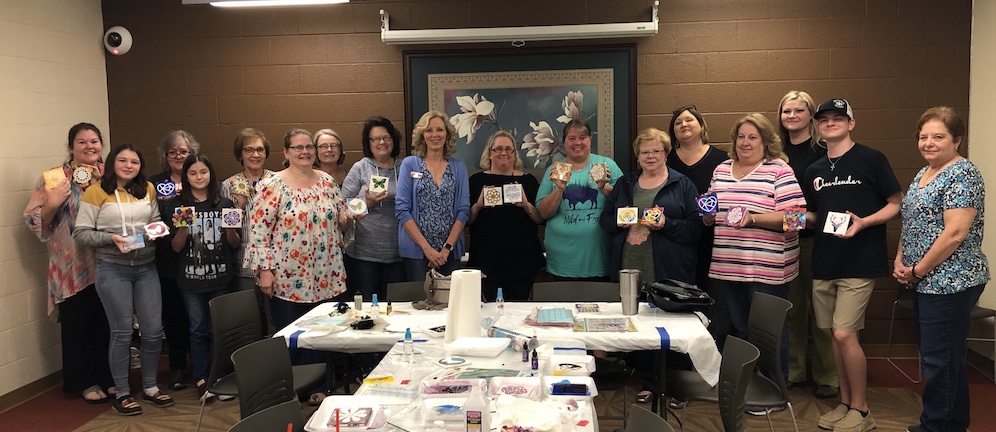
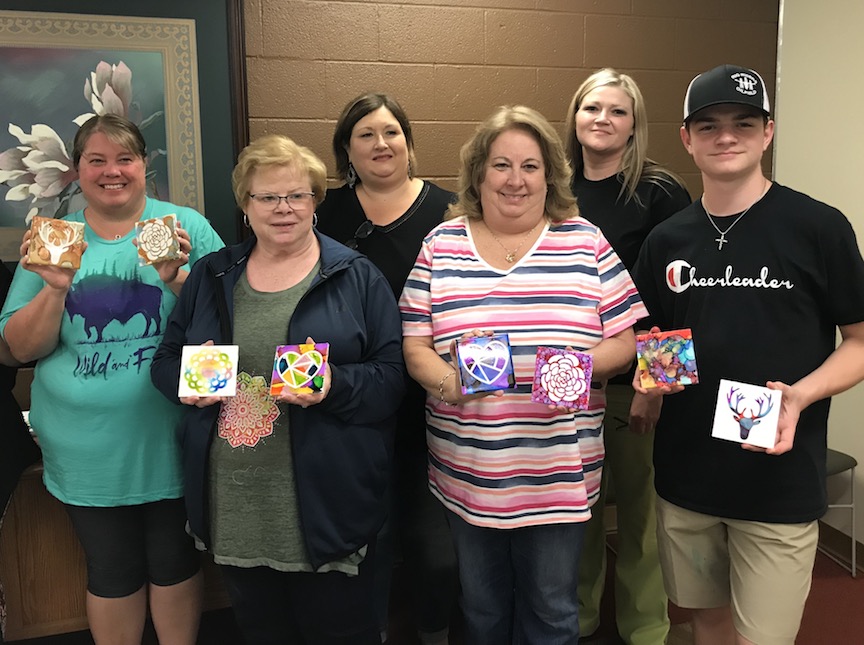
The Finished Product
As promised, no two turned out the same but each were uniquely beautiful!


I can’t wait to try alcohol inks in even more ways such as on fabric and in card-making! Who knows, we might even play with them at Creative Cutters again 😉 .

Our group will be taking a break for the summer, but will resume meeting in August. If you’d like to join us sometime, we’d love to have you. There’s always room for more at our crafting table!
Until next time,

This post may contain affiliate advertising. This means that if you click on a link in the post, I may make a commission based on your purchase. The price you pay for the product or service is not higher, and the commissions I earn help keep Caught by Design online. Thanks for your support!

Lycia is a lifelong crafter whose goal is to help others find value, confidence, and joy in whatever they create. She geeks out on using technology to supercharge craft projects with Silhouette Studio, Design Space, Glowforge, sublimation, etc.! Lycia teaches these skills and more through online tutorials and videos as well as in-person classes at both the local and national levels.