
How to Sublimate a Puzzle
This site includes affiliate links. If you purchase from these links you will not pay more for the product, but I may earn a small commission which helps defray the costs of keeping the site running. I am also a participant in the Amazon Services LLC Associates Program, an affiliate advertising program designed to provide a means for me to earn commissions by linking to Amazon.com and affiliated sites. I appreciate your support!
In today’s tutorial, I’m going to show you just how easy it is to sublimate a puzzle! It’s a quick project that’s not only lots of fun to make but leaves plenty of room for creative expression.
When London mapmaker John Spilsbury first pasted a map onto a thin piece of wood in the 1760s and used a scroll saw to cut it into little pieces, he had no way of knowing how popular “jigsaw puzzles” would become. Nor could he have imagined that paper and paste would give way to something called “sublimation” as a more permanent way of creating a custom puzzle.

Puzzles can be created from almost any image you can think of – photographs, coloring pages, drawings, etc. They can be personalized with text, the recipient’s favorite colors, or to commemorate a special event. They also make great party favors, stocking stuffers, or Easter basket fillers like the one I’m going to show you how to make today. Let’s get started!
What You’ll Need:
Some of the materials used in this project were provided by Artesprix in exchange for this post, but all opinions are my own.
- Sublimation Puzzle
- Silhouette Studio software
- Design
- Printer OR Silhouette Cameo or Portrait with Sketch Pen Adapter
- Plain Copy Paper
- Artesprix Sublimation Markers
- Lint Roller
- Heat Tape or Temporary Spray Adhesive
- Protective Paper
- Heat Press, Home Iron, or Easy Press
Use code SUBLIMATION to save 10% on your order at Artesprix.
Does not apply to heat presses or bundle deals.
Step 1: Set Up the Page in Silhouette Studio
Set up a design page in Silhouette Studio that matches the size of your printer paper. For this tutorial, I’m printing on a standard letter-size sheet of paper (8.5 inches x 11 inches) in Landscape (wide) format.
Machine: None
Cutting Mat: None
Media Size: Letter
Width: 11 inches
Height: 8.5 inches
Orientation: Landscape
Show Print Border: ON

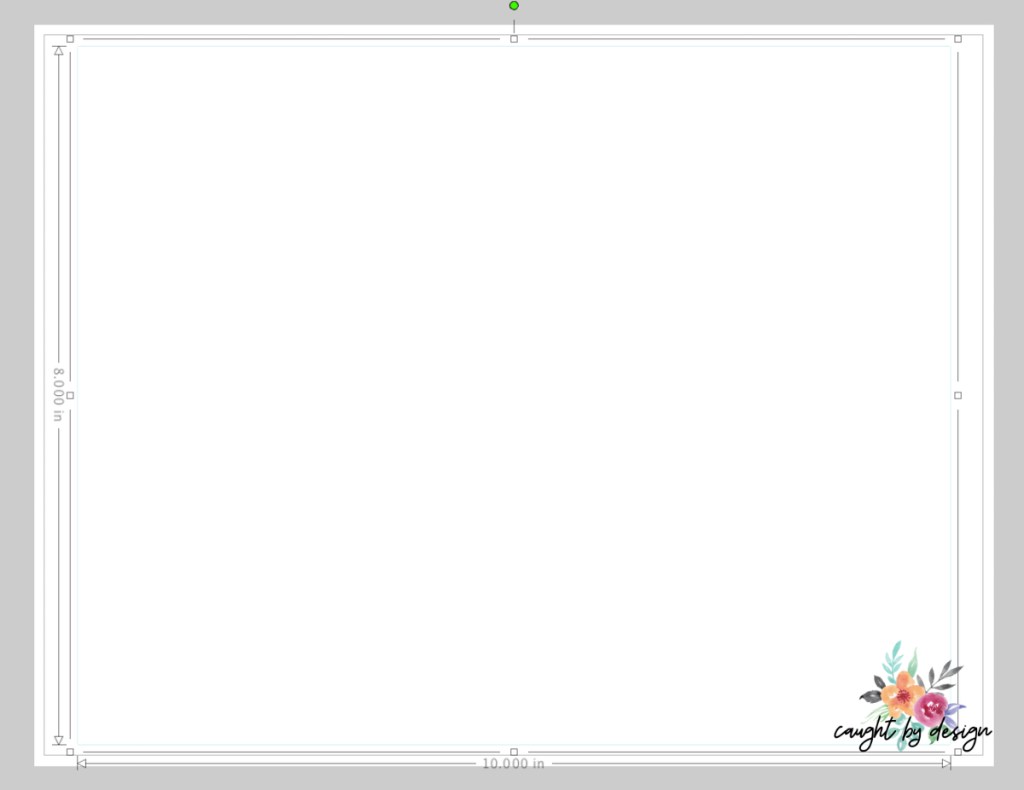
Draw a rectangle that is slightly larger than the puzzle blank. The puzzle I’m using is 7.5 inches x 9.45 inches, so I drew an 8 inch x 10 inch rectangle.
Change the Line Color of the rectangle to a light color and increase the line weight to 0.5 pt, so that the rectangle will print on the sublimation transfer.
Center the rectangle on the page and make sure that it doesn’t extend beyond the print border.
Step 2: Create the Design
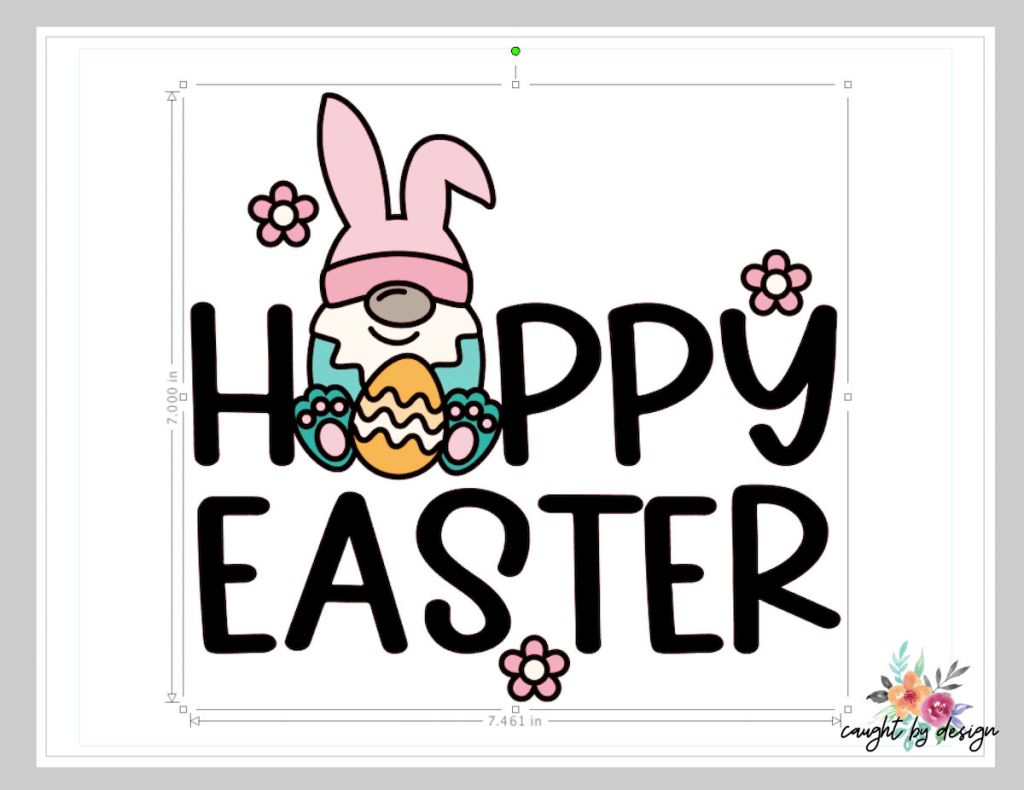
Create a design for the puzzle using a coloring page, sketch designs, text, or any combination of elements. I’m using a design from the Silhouette Design Store, Happy Easter by Jillibean Soup, Design ID 347630.
Resize the design to fit within the rectangle you drew in Step 1, but be careful not to get the design too close to the edge. You don’t want any of your design to get cut off if the transfer isn’t exactly centered on the blank when you press!
Center the design within the rectangle.
Step 3: Print or Sketch the Outline
Coloring pages or text that is filled with color can be printed “as-is”, but sketch designs and designs created from cut files like this Happy Easter design will need some modification in order to print correctly.
Option 1 – Home Printer
Ungroup the design and delete any unneeded sections so that only the outline remains.
Change the fill color to Transparent for the entire design.
Change the Line Color of the design to a light color and increase the Line Weight to 0.5 pt, so that the outline will print on the transfer sheet.
Regroup the design and Flip Horizontally to mirror the image.
Print on your home printer.


Option 2 – Sketch
Instead of printing the outline, sketch it using your Silhouette Cameo or Portrait with a sublimation marker in the pen adapter. Be sure to change your page settings to match the machine and mat you’re using.


(Note: Most coloring pages are images and cannot be sketched unless you Trace the image first to create cut lines.)
Step 4: Color the Design
Color in the remainder of the design, including the background, using Artesprix markers. Be sure to protect your workspace with some scrap paper so that the markers don’t bleed through to your table – ask me how I know!!!

Step 5: Get Ready to Press
Complete instructions for each type of Artesprix blank can be found on their website.
Trim the design along the rectangular border. Remove the puzzle from the frame (if there is one) and use a lint roller to gently remove any stray fibers from the blank.
Place the puzzle face-down on the colored design and use heat tape to secure the puzzle to the design as snugly as possible. The heat tape should be placed on the BACK of the puzzle so that it doesn’t overlap any areas of the design that are to be transferred.
If you plan to use a home iron or Easy Press to transfer the design, use plenty of tape or a temporary adhesive spray to prevent the design from shifting as you press.

Arrange the layers into a “Sublimation Sandwich”. The “bread” will be two pieces of protective paper, one on top and one on bottom. Each piece of protective paper should be larger than the design. The “filling” is the sublimation blank with the design taped to it. The puzzle will be face-up and the design will be face-down. When you press, the only thing that will be between the heat source and the design is one layer of protective paper.

Step 6: Press the Design
Set your heat press to 400 degrees Fahrenheit. If using a home iron, set it to the highest setting (usually Linen) and NO STEAM.
Press for 60 seconds with a heat press or approximately 3 minutes with a home iron. If using a home iron or Easy Press, be sure to apply lots of pressure as you press.
When you’re finished pressing, do a “peek test” before removing the paper. Lift a corner of the transfer paper and check to see that the design has transferred and the colors are bright. If not, press for a few more seconds. (The paper will be hot so you may want to wear protective gloves!!!)
Allow the puzzle to cool.

Once the puzzle is cool, gently remove the paper without sliding to reveal the design.

Like what you see here? Share the image below to Pinterest!

Now that you know the basics of how to sublimate a puzzle, I hope you’re inspired to make a few of your own. If you have any questions, leave a comment below and I’ll be happy to help!
Until next time,


Lycia is a lifelong crafter whose goal is to help others find value, confidence, and joy in whatever they create. She geeks out on using technology to supercharge craft projects with Silhouette Studio, Design Space, Glowforge, sublimation, etc.! Lycia teaches these skills and more through online tutorials and videos as well as in-person classes at both the local and national levels.